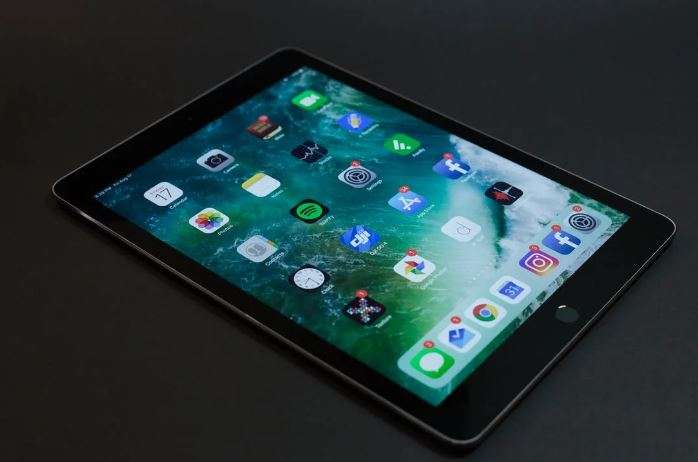
iPad users rarely encounter a large number of WiFi problems.
Apple designed their iPads to connect to accessible networks with relative ease. But even then, there are exceptions, and if you find yourself in one, it can be really frustrating.
Increasing the iPad’s WiFi connection strength when you feel that things are moving too slowly is not particularly difficult. This article sheds more information on the subject.
Simple Tips to Get Better WIFI Signals on iPad
Let’s learn about the best tips to increase wifi signal on your iPad.
Remove the device’s protective case
Have you applied a case to your iPad? That could potentially interfere with the reception.
The majority of cases are designed to block WiFi signal whether they are made of TPU, silicone rubber, or plastic, however if you are using a case made of a material other than these, it could pose an issue.
The simplest course of action in this situation would be to remove the device’s cover and test the reception. If you observe any progress, the case is detrimental. Cast it aside without further delay.
Reboot your router
Restarting the router is one of the easiest (and arguably most obvious) troubleshooting steps you should try.
A simple restart can unclog a few system clogs, regardless of how stupid or ridiculous it may sound. Additionally, you should attempt to restart the WiFi on your iPad. You would simply need to turn off your WiFi, wait one minute, and then turn it back on.
Manually configure DNS on your iPad
By modifying the iPad’s DNS settings, we are not technically improving WiFi reception. Instead, we just use a new DNS to retrieve data from the internet.
Here’s how to accomplish it with your Apple iPad:
- Initially, you must determine several DNS IPs that can be used. Here are a couple: 8.8.8.8 and 8.8.4.4.
- Navigate to settings, then WiFi.
- Tap the information icon. It would be located to the right of the name of the linked network.
- Select DNS by scrolling down and tapping on it.
- Choose a DNS address to enter.
- Restart WiFi.
The DNS is typically configured automatically, which is ideal. However, the default configuration may not always work. In this instance, public DNSes (such as those listed above) may be useful for your goal.
Change the channel if interfering signals are detected
WiFi interference is one of the main issues you may have in your community.
Undoubtedly, it is difficult to assess or quantify the impact of neighboring WiFi signals, but your iPad’s WiFi technology works as follows: it searches for the strongest signal and locks onto it.
Spill-overs from other powerful signals can potentially have a negative impact on the channel to which you are connected.
You may begin by relocating your router to a more optimal location in your home and altering the channels to determine if the situation improves.
Forget and reconnect WiFi
Ensure you are aware of your WiFi password before continuing. If you do not know it and cannot figure it out, move on to the next solution.
- Open the iPhone’s Settings and tap WiFi.
- Tap the info icon next to the name of the connected WiFi network.


